The primary purpose of the Living Atlas is to support a growing awareness of a changing region by presenting a variety of different thematic content types (forest harvest areas, fish farms, place names, language areas). The Atlas supports a variety of different content types, including; map based information, multimedia (audio, video, images), text documents and charts. The Atlas publishes existing information rather than creating new content and is intended for a public audience.
HEADER

Clicking on “about” displays the Welcome dialog box.
Clicking “help” brings you to this page.
The “contact us” link will open a draft email to livingatlas@ecotrust.ca.
The  link (on the far right) is used to turn the time line on or off.
MAP NAVIGATION
 Map navigation can be done by clicking the up, left, down and right arrows on the navigation control at the top left corner of the map.
Zooming in and out of the map can be done by:
- clicking the
 or
or  buttons,
 - by dragging the pointer up and down on the navigation control, or
- by rolling the mouse wheel.
RIGHT SIDE BAR
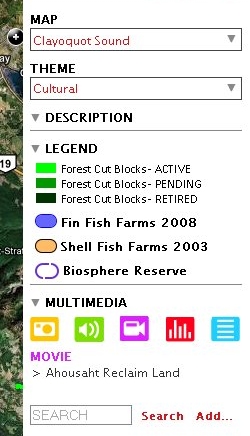 The right side bar contains:
- the MAP area selector
- the THEME selector
- DESCRIPTION
- LEGEND, and
- MULTIMEDIA
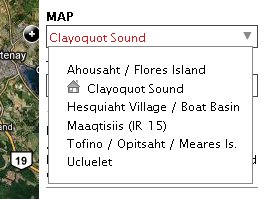 The MAP area selector is used to quickly zoom to pre-defined areas.
Clicking on an area zooms the map to that area and closes the MAP selector drop-down list.
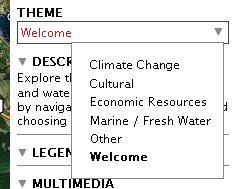 The THEME selector activates pre-defined themes.
Clicking a Theme name will turn on all layers associated to the selected Theme, and close the THEME selector drop-down list.
 The DESCRIPTION area contains further information for the active Theme.
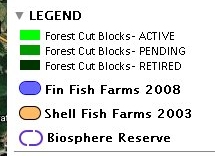 The LEGEND contains the symbology and colours for features visible on the map.
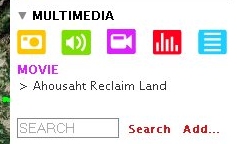 The MULTIMEDIA area allows for the filtering of media type (one of photo, sound, movie, chart or story), and lists the media visible on the map.
Below the media item list is a search tool that allows the filtering of media items based on keywords as well as a link to the Add Media dialog box.
SEARCHING AND ADDING MEDIA
 Clicking the “Add…” link opens the Add Media dialog box (shown below).
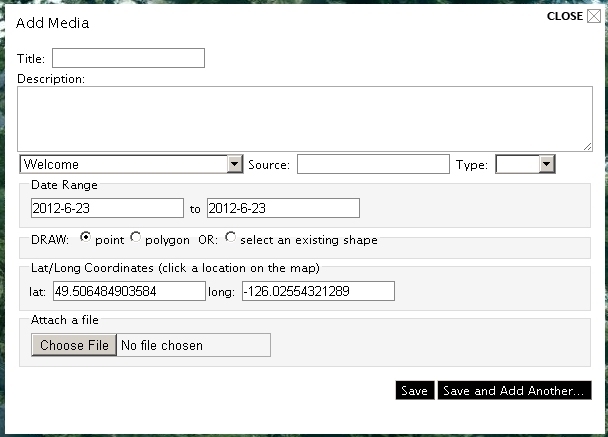
The following fields are contained in the Add Media dialog box:
Title
What will be displayed at the top of the media dialog.
Content
An external hyper-link, embedded photo/slideshow/video/audio file, or raw text.
Media Type
A selectable drop down list with values of (story, movie, photo, chart)
Source
A brief explanation of the origin of the media item.
Date Range
The start and end date in time associated with the media item.
Lat/Long Coordinates
The location on the map where the media is describing or related to. These can be populated by clicking a point on the map.
LAYER CONTROL
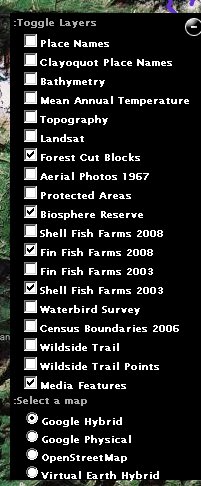 At the top right corner of the map there is a small icon that when pressed, expands the available layer list.
While visibility of these layers is controlled by the Theme selector, any of these layers can be turned on/off with this control by checking/un-checking the box beside them.
At the bottom of this list are the external Base layers available in the Atlas. Selecting one these is via a radio button signifying that only one can be active at a time.
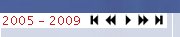
TIME SLIDER
At the bottom of the map there is a widget called the Time Slider that is used to display the chronology of data in the Atlas. Media items are shown on the time slider in the colour of their media types, at the point in time that they occurred, and are labeled with their titles.
Note that the time period displayed relates to the currently selected theme.

The top left corner of the time slider displays the time of the currently selected theme, and has navigation buttons to change the displayed time year or decade for the map.
EXAMPLE MEDIA DIALOGS
The following is an example of a photo media item: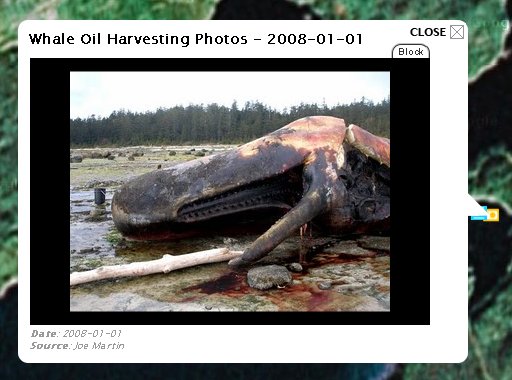
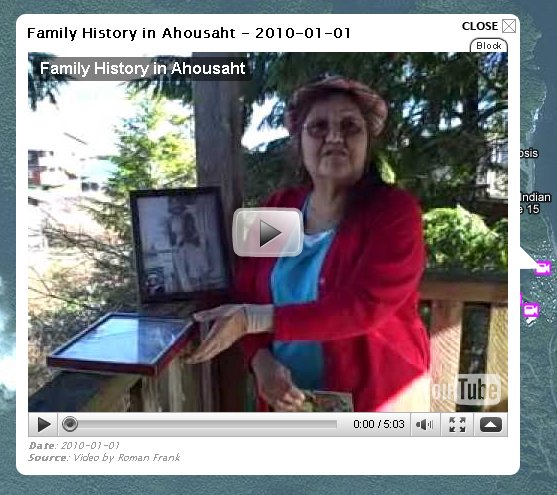
The following is an example of a story, or narrative, media item: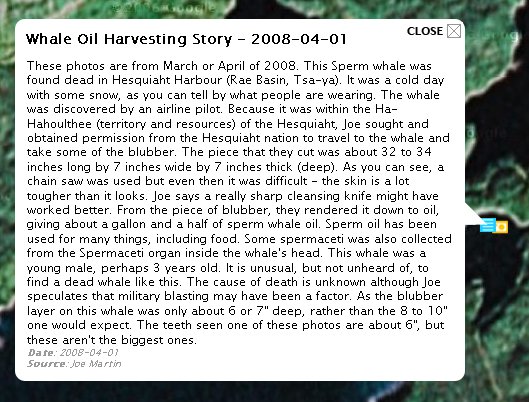
The following is an example of a video media item (in this case hosted on YouTube):